
Page 54 - John Barber's Oakham Castle and its archaeology
P. 54
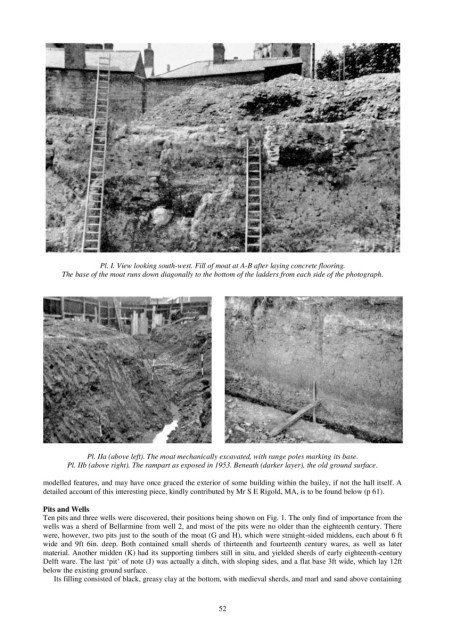
Pl. I. View looking south-west. Fill of moat at A-B after laying concrete flooring.
                 The base of the moat runs down diagonally to the bottom of the ladders from each side of the photograph.


                        Pl. IIa (above left). The moat mechanically excavated, with range poles marking its base.
                   Pl. IIb (above right). The rampart as exposed in 1953. Beneath (darker layer), the old ground surface.

            modelled features, and may have once graced the exterior of some building within the bailey, if not the hall itself. A
            detailed account of this interesting piece, kindly contributed by Mr S E Rigold, MA, is to be found below (p 61).

            Pits and Wells
            Ten pits and three wells were discovered, their positions being shown on Fig. 1. The only find of importance from the
            wells was a sherd of Bellarmine from well 2, and most of the pits were no older than the eighteenth century. There
            were, however, two pits just to the south of the moat (G and H), which were straight-sided middens, each about 6 ft
            wide  and  9ft  6in.  deep.  Both  contained  small  sherds  of  thirteenth  and  fourteenth  century  wares,  as  well  as  later
            material. Another midden (K) had its supporting timbers still in situ, and yielded sherds of early eighteenth-century
            Delft ware. The last ‘pit’ of note (J) was actually a ditch, with sloping sides, and a flat base 3ft wide, which lay 12ft
            below the existing ground surface.
               Its filling consisted of black, greasy clay at the bottom, with medieval sherds, and marl and sand above containing


                                                           52